
 English
 German
  Italian
  Hi, User
 How Many Times Can a Supply and Demand Zone Be Tested?
Ever marked a perfect supply or demand zone on your chart, only to watch price bounce off it once, twice, three times and then suddenly crash through it like it never existed? You’re not alone. One of the most frustrating experiences in forex trading is trusting a zone that’s worked multiple times, only to have it fail spectacularly when you need it most.
Here’s the truth: supply and demand zones aren’t infinite force fields. Each time price tests a zone, it weakens. Think of it like a rubber band; it can stretch and snap back several times, but eventually, it loses elasticity and breaks.
In this guide, you’ll discover exactly how many times a supply or demand zone can typically be tested before it breaks, why zones weaken with repeated touches, and how to identify when a zone is still strong versus when it’s about to fail.
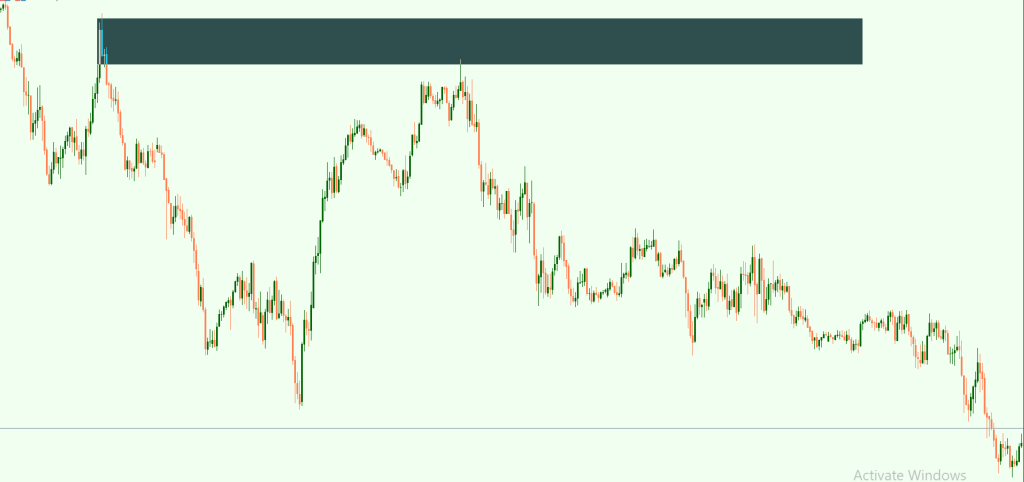
Understanding Zone Strength and Testing
A supply or demand zone represents an area where institutional traders placed significant orders. When price returns to that zone, those orders get filled and here’s the critical point: once filled, they’re gone.
What happens during each test:

- Limit orders at that level get executed
- The order book becomes thinner
- Fewer buyers or sellers remain to defend the zone
- The zone’s ability to reverse price weakens
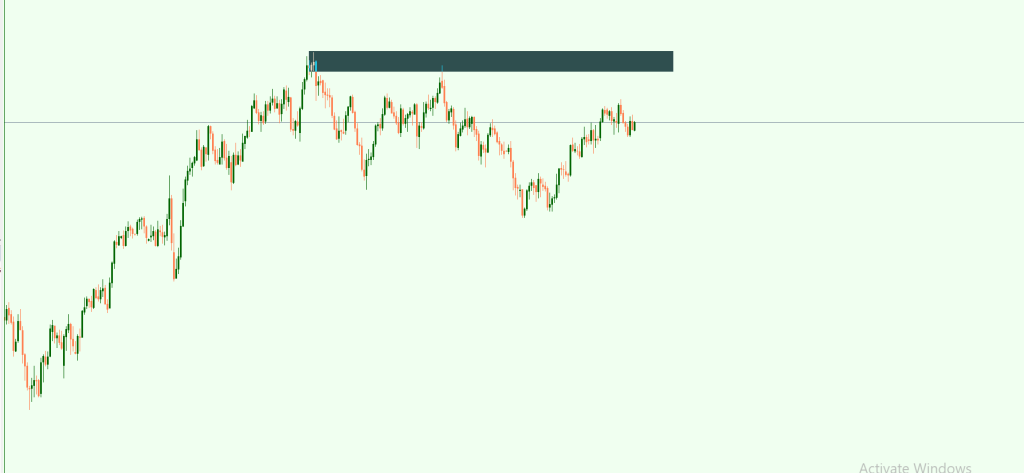
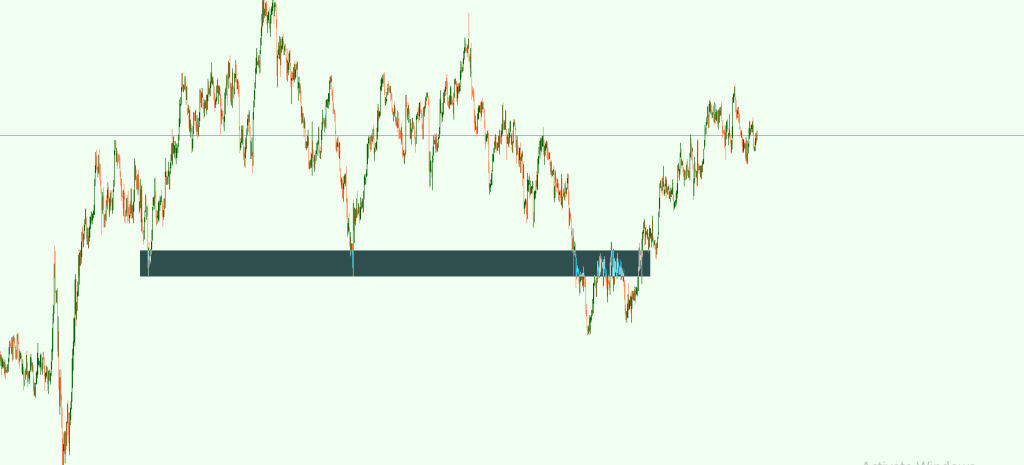
The general rule: Most supply and demand zones remain effective for 1-3 tests before breaking. Fresh zones (tested only once) are strongest. Zones tested twice can still be effective, but require additional confirmation. Zones tested three or more times are significantly weaker and should be approached with caution.
The Optimal Number of Tests
Professional traders prefer zones that have been tested zero to one times. Here’s the breakdown:
Fresh zones (0 previous tests):
- Maximum order volume remaining
- Highest probability of strong reaction
- Ideal for aggressive entries
First retest (1 previous test):

- Still considerable strength
- Good probability if formed with strong impulse move
- Best for conservative traders seeking confirmation
Second retest (2 previous tests):
- Significantly weakened zone
- Requires additional confirmation signals
- Increased risk of breakout
Third retest and beyond (3+ tests):
- Zone is exhausted in most cases
- High probability of breaking through
- Avoid trading bounces; prepare for breakouts instead
The key insight: Each test consumes liquidity. The institutional orders that created the zone get filled with each touch, leaving fewer orders to push price away on subsequent tests.
Why Zones Weaken: The Psychology Behind Multiple Tests
When a supply zone forms, large institutions placed sell orders at that level. On the first test, those orders trigger and push price down strongly. By the second test, some orders were already filled fewer sellers remain. By the third test, most original orders have been exhausted, and if no new supply enters, buyers will overwhelm the remaining sellers.
Market memory also plays a role: Traders notice when zones hold multiple times and start placing stops just beyond these “obvious” levels. When the zone finally breaks, these stops trigger, accelerating the breakout, a phenomenon called a “stop run.”
Trading Fresh Zones vs. Tested Zones
Your strategy must adapt based on how many times a zone has been tested:

Fresh zone strategy:
- Wait for price to return to zone for first time
- Look for rejection candlestick patterns
- Enter on confirmation with stop loss beyond zone
- Use full position size
First retest strategy:
- Confirm zone held strongly on initial test
- Require stronger confirmation signals
- Use tighter stop losses
- Consider reducing position size slightly
Second retest strategy:
- Only trade if zone aligns with major support/resistance
- Require multiple confirmation signals
- Significantly reduce position size
- Prepare for potential breakout
Third retest and beyond:
- Avoid trading bounces
- Instead, prepare for breakout trades
- Wait for clear break and retest of broken zone
- Previous demand becomes new supply (and vice versa)
Identifying Zone Exhaustion Signals
Watch for these warning signs that a zone is about to fail:
Price action signals:
- Each bounce produces weaker momentum
- Candles closing deeper into the zone with each test
- Longer time spent inside the zone without strong rejection
- Decreasing volatility on each touch
Market structure clues:
- Higher lows forming near supply zone (buyers getting stronger)
- Lower highs forming near demand zone (sellers getting stronger)
- Break of significant trendline or structure level
Time factor: Zones also weaken over time, even without multiple tests. A zone from six months ago has less relevance than one from last week.
Common Mistakes to Avoid
Mistake #1: Blindly trusting “strong” zones. If a zone held three times, it’s not incredibly strong; it’s exhausted and ready to break. The strongest zones are fresh, untested levels.
Mistake #2: Not adapting risk management. Using the same position size on a third test as you would on a fresh zone is dangerous. Reduce position sizes as zones weaken.
Mistake #3: Ignoring bounce quality. If each bounce is weaker than the last, the zone is dying even if it’s only been tested twice.
Conclusion
Supply and demand zones weaken with each test and eventually break. The sweet spot for high-probability trades is fresh zones or first retests where the zone still maintains significant strength.
Your action steps:
- Identify which zones on your charts are fresh versus heavily tested
- Stop trading zones tested three or more times
- Focus on fresh supply and demand zones from strong impulse moves
- Reduce position sizes on second retests
- Develop breakout strategies for exhausted zones
Remember: Each test consumes liquidity. One trade from a fresh zone is worth ten trades from an exhausted level. Start treating zones like the consumable resources they are, and you’ll immediately improve your win rate.
Post a Reply
You must be logged in to post a comment.